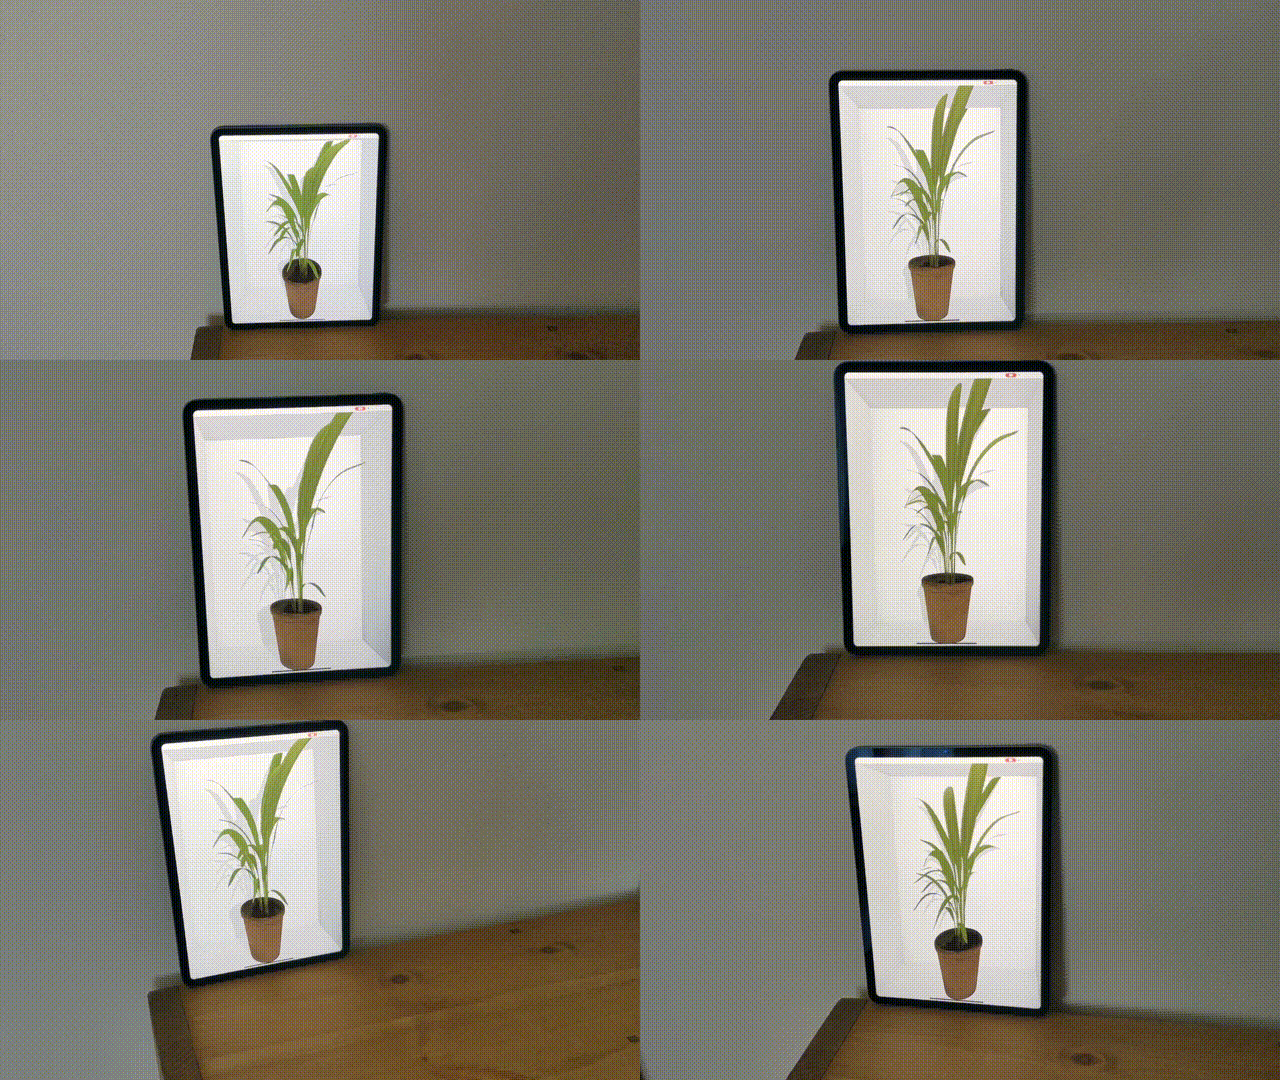
Poor Man's AR
tl;dr: Give it a go here.
Introduction
A little while ago, I saw a blog post that really piqued my interest. It’s a version of augemented reality, that only requires a (front-facing) webcam and a web browser. I decided that I wanted to make my own version of it, as I was learning Three.js at the time.

The GIF that started it all, ‘Head-coupled perspective’. From this blog post.
This inspired me greatly

Screenshot of Lucy angel model in faux-augemented reality. Try it here.
Using a pre-trained model (PoseNet) using ml5js we estimate eye-position to move a virtual camera (in a plane) around a scene, and then use ThreeJS to render the screen from this eye position, as if you were really moving around the virtual scene.
Getting webcam frames
We need to ask the user for access to their webcam 📸. We take the webcam stream and add that to a video elememt. Since we want the pose-estimation to be done in (as close to) real-time as possible, we take the webcam live video, and send it to a video tag.
// Hold webcam capture in a video tag, but don't add to DOM
const video = document.createElement("video");

// Request webcam from the user
window.navigator.mediaDevices
  .getUserMedia({ video: true })
  .then((stream) => {
    // Send the webcam stream to the video element
    video.srcObject = stream;
    video.onloadedmetadata = () => {
      // 'Play' the video, i.e., continuously acquire frames
      video.play();
    };
  })
  .catch(() => {
    alert("This site won't work without webcam access");
  });
Detecting the eye-postions
ml5js’s PoseNet model, accepts a HTMLVideoElement as input, which we can listen to the pose event from.
// Create a new poseNet model
const poseNet = ml5.poseNet(video, modelLoaded);

// Listen to 'pose' events
poseNet.on("pose", (result) => {
  poses = result;
});
This result Object has the following structure (only relevant parts shown).
[
  {
    pose: {
      leftEye: { x, y, confidence },
      rightEye: { x, y, confidence },
    },
  },
];
Which means that our updated pose structure becomes:
poseNet.on("pose", (result) => {
  const { leftEye, rightEye } = result[0].pose;
});
Rendering from the new position
three.js allows us to define a scene and use some WebGL magic 🔮 to render it very quickly.
My favourite computer graphics test model is ‘Lucy’1, which I used a slimmed down version of from here.
We consider the camera position at the mean position of the eyes.
I did try moving the camera in 3D, by using an estimate for the distance between the eyes, an estimate of pixels into real-space, then using that to work out the depth using similar triangles, but the uncertainty was massive and the screen moved in Z massively.
Limitations
- Loading takes forever, at least it should have a proper progress animation shown to the user
- I’m not sure the camera canvas is doing anything lol
- This project needs a major overhaul
- I want the box size to be linked to the viewport size
- Aspect ratio of camera shouldn’t be divided out, as it corresponds to real-space
- The
multiplierproperty should be set based on device capability
Next steps
In future, I would like to estimate head depth, but this would involve using a more complicated pose-esimation model.
The scene isn’t particularly impressive, the post that inspired me looks far nicer. I think a scene selection would be nice.
When I have time, I’ll remake this in React Three Fiber because I love declaritive functional programming. It also makes sense, now I am using astro for this site, so that I can use the JS packages so that I’m not hotlinking to CDNs for my dependencies.
I think removing the dependency on ml5js would be good, it doesn’t add that much abstraction over the original tensorflow js implementation, so I think it might be worth moving to that.
The code isn’t particularly elegant, or even good, so I’d like to refactor it so that it looks sensible, and more importantly is easily readable.
How I’d like it to work:
- Init
- Render
- On pose update
- Convert eye-position to camera position
- Re-render scene from current camera positions